
Start with who uses it
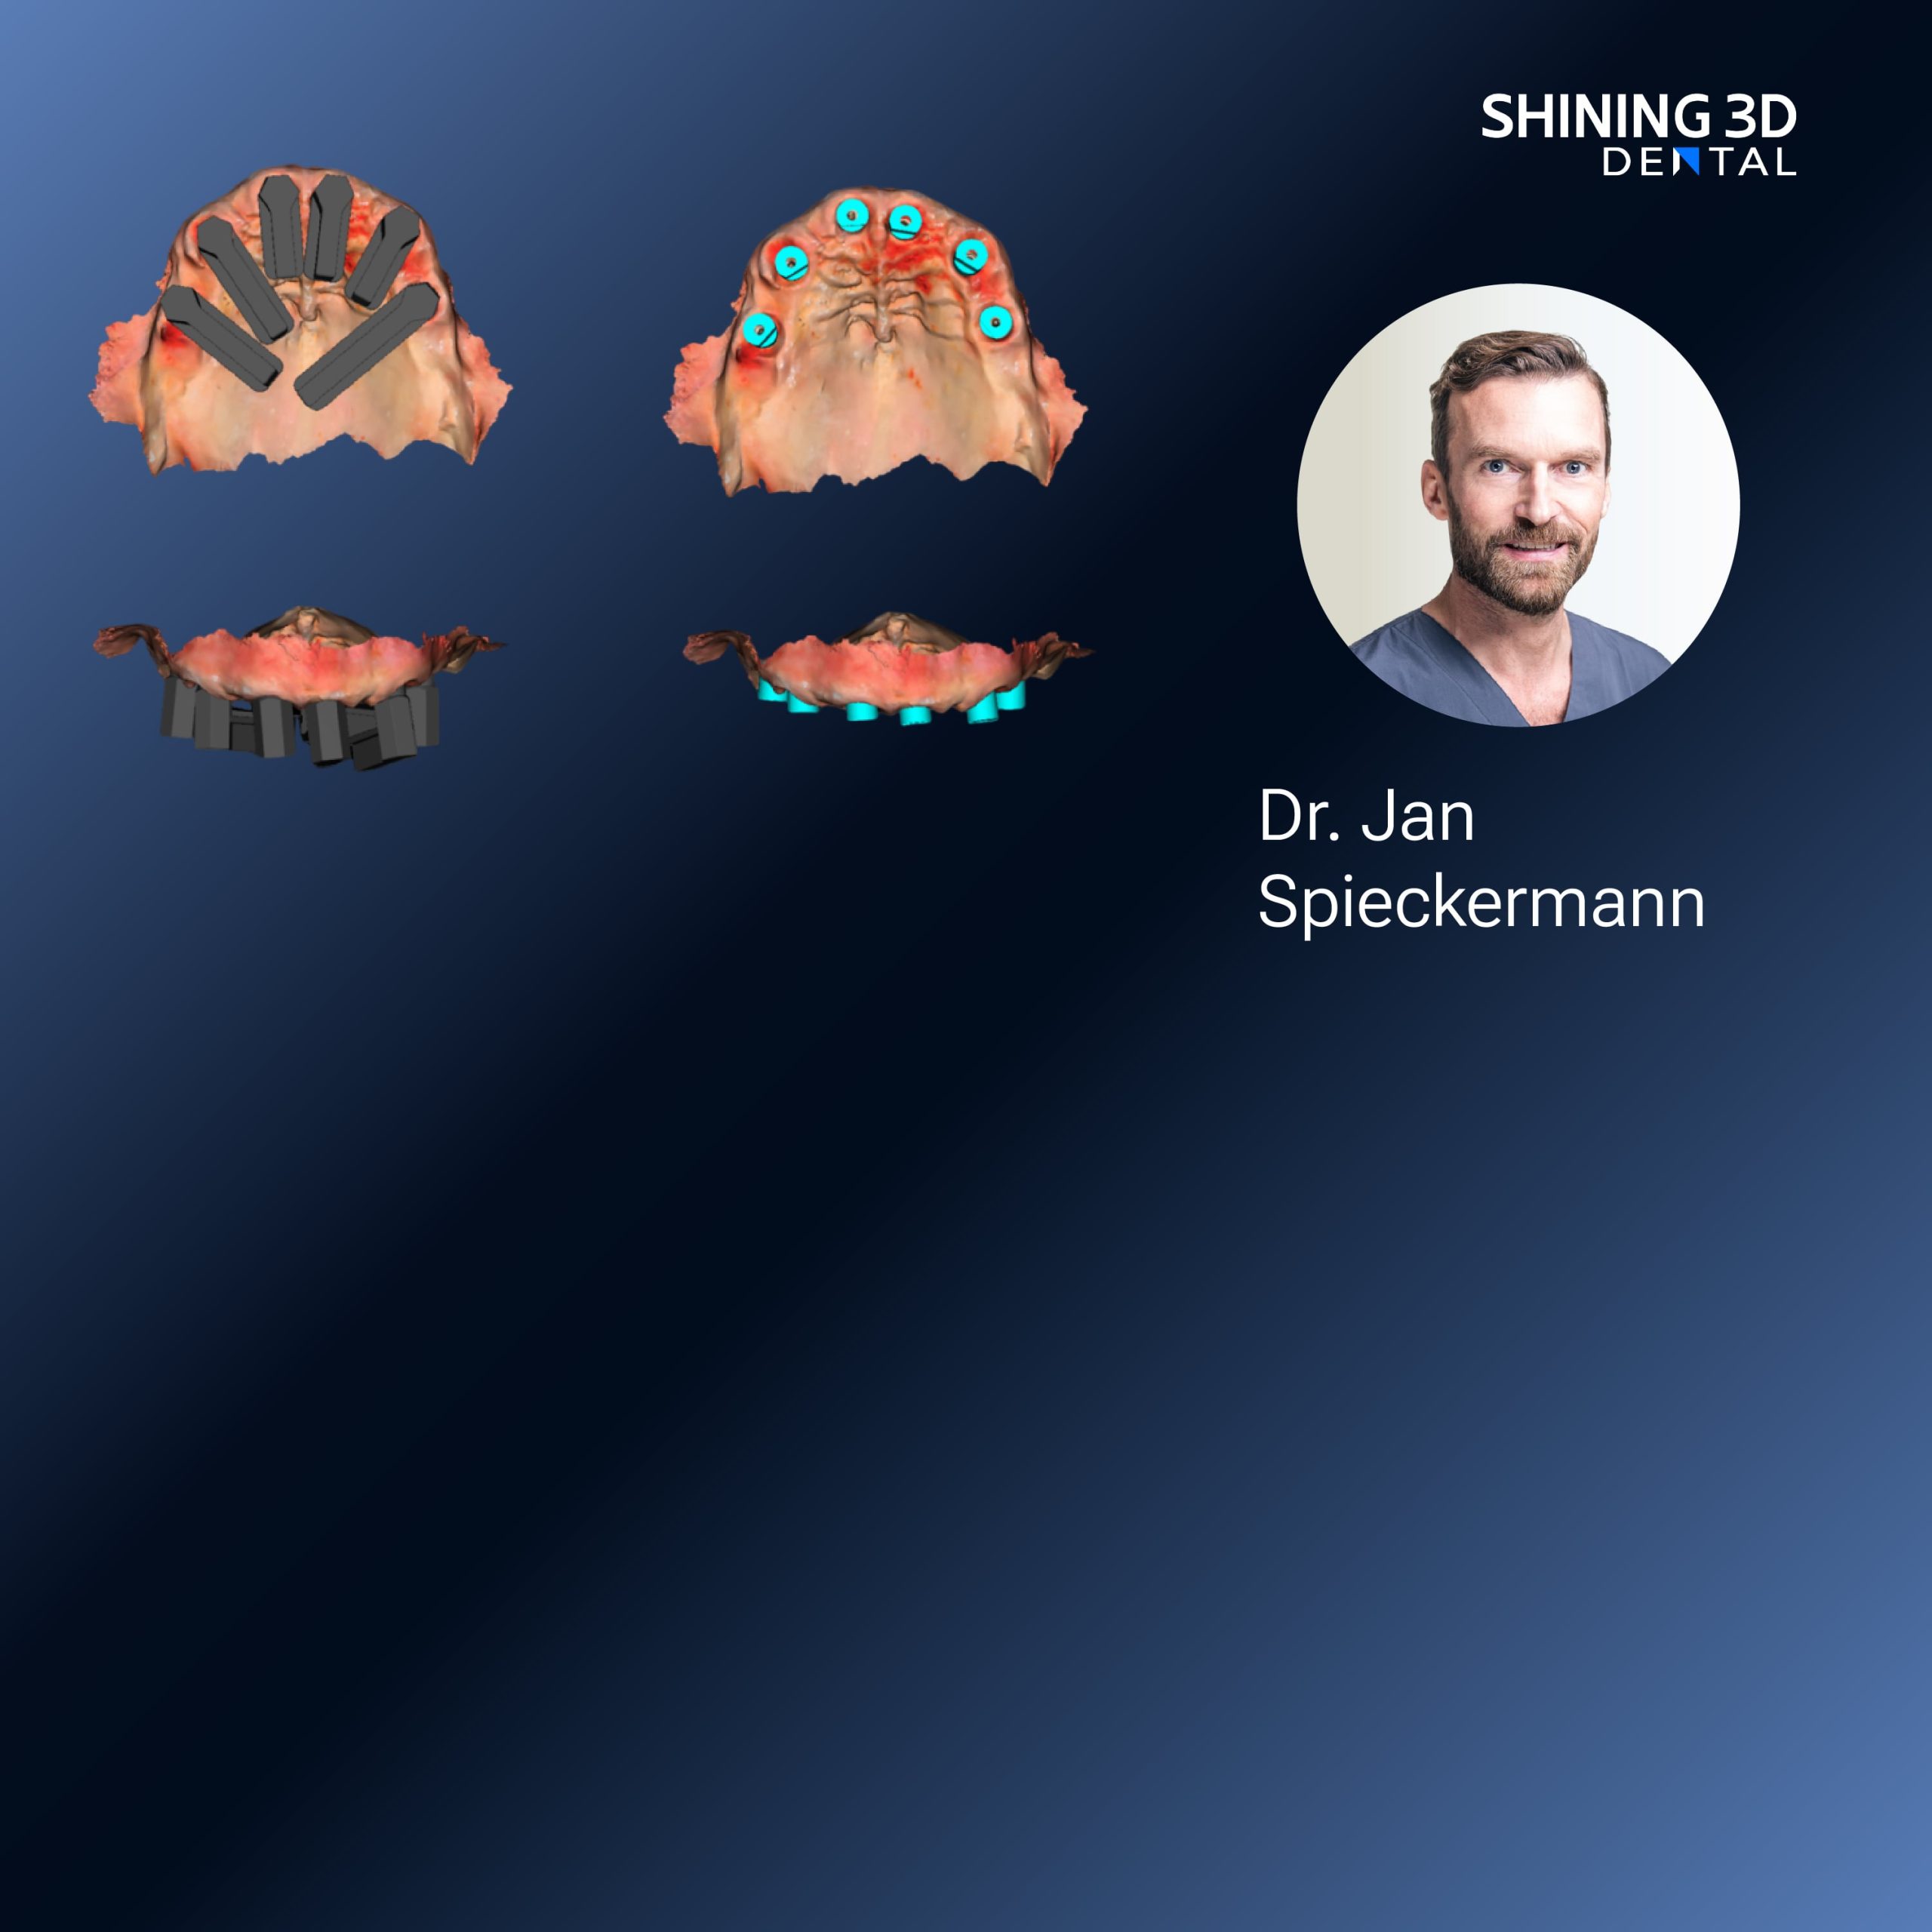
For a dental team, the workflow must answer simple questions: who scans, who designs, who finishes, and what patients notice. Put roles first and tools second; your lead clinician needs clear responsibilities, the lab tech needs repeatable inputs, and the nurse must set up patients quickly. If you’re weighing cameras against scanners, also look at a Photogrammetry 3D scanner for full-arch capture where needed — it changes how you think about impressions.

Decide on objectives, not buzzwords
Don’t buy a system because it’s labelled “digital.” Define outcomes: fewer remakes, faster chair-time, or better patient comfort. Map each objective to measurable checkpoints: time per appointment, number of adjustment appointments, and lab remakes per month. Keep targets modest and test for one objective at a time so the team can learn without overwhelm.
Choose hardware with the team in mind
Handheld intraoral scanners, lab desktop scanners and photogrammetry each have strengths. Ask who will scan most often and where scans are done — in the clinic or sent to a partner lab. Prioritise ease-of-use, reliable tracking, and a service network you can reach after hours. Compare file formats and how easily your CAD software ingests them; interoperability reduces friction every day.
Step-by-step workflow that teams follow
Set a simple sequence and keep it visible in the clinic: 1) patient prep and shade selection, 2) scanning protocol and reference landmarks, 3) immediate quality check, 4) CAD adjustments, 5) try-in and final milling/printing. Train to one standard scan per restoration rather than a dozen variations — consistency beats complexity. Use short coaching sessions to build competence; repetition fixes most errors.
Reality check from the clinic floor
I’ve supervised digital transitions across Cape Town and Johannesburg clinics; the most telling change is consistency, not speed. In one Cape Town prosthodontics lab an intraoral scanner for dentures replaced messy impressions for many patients and made try-ins far more predictable. That hands-on experience taught two things: staff buy-in matters more than spec sheets, and a single local success story persuades other practitioners faster than any brochure.
Common pitfalls and how to avoid them
Pitfall: scanning without standards — results vary. Fix: adopt a single scan protocol and enforce immediate quality checks. Pitfall: mismatched digital files between clinic and lab. Fix: agree on format and versioning before you send work away. Pitfall: neglecting patient flow — scans add seconds but set-up takes minutes. Fix: rehearse patient positioning and have consumables at hand. Small, repeatable habits prevent the big rework days.
Compare alternatives briefly
Simple intraoral scanners suit single-unit restorations and busy clinics; photogrammetry and desktop systems suit full-arch and denture workflows where positional accuracy matters. Consider service support and training availability as primary factors. If a lab partner already uses a system you trust, aligning with that system usually saves time over risky standalone choices.
Wrap-up: what this delivers for your team
Make the workflow about people: clear roles, one scanning standard, and measured goals. That approach reduces remakes, steadies patient visits, and builds staff confidence. Teams that follow those practical steps tend to work cleaner and faster, which is exactly the benefit long-term users find with SHINING 3D DENTAL.