
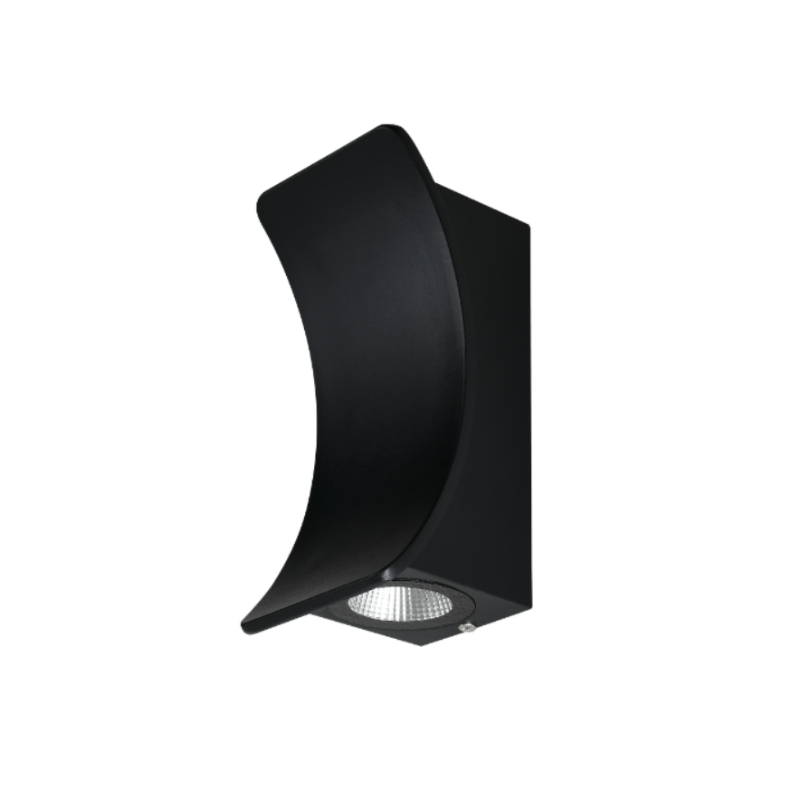
The problem — why glare keeps biting projects
When councils, architects and builders put up lighting that’s “bright enough”, what often follows is complaints about glare, dazzle and light trespass onto homes and sensitive sites. It’s a common bottleneck: well-intentioned luminaires create harsh visual artefacts, undermining safety, amenity and even biodiversity. Start by checking timers and controls — a motion-aware setup like an outdoor wall lights motion sensor can cut down unnecessary run-time and the hours when trespass matters most. If you don’t diagnose the root cause (mounting height, beam angle, CCT or shielding), you’ll patch one problem and create another.
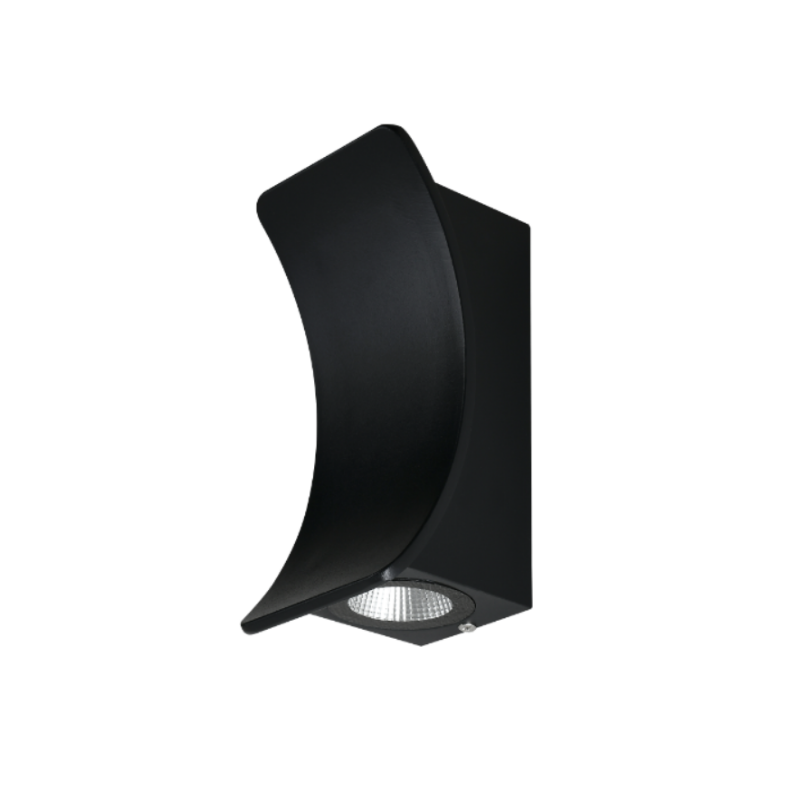
Diagnose first: the quick field checks
Walk the site at night with a simple checklist: note where glare is visible from neighbouring windows, measure lux at property lines, and record offending angles from pedestrian paths. Key things to log are luminaire height, beam angle and correlated colour temperature (CCT). Use a handheld lux meter if you’ve got one — otherwise a methodical visual audit will do. These steps tell you early whether you’re facing direct glare, uplight from poor shielding, or reflected glare off glass or wet surfaces.
Common causes and straightforward fixes
Most glare issues come from a handful of causes: wrong beam angle, too high lumen output, unsuitable CCT, or lack of proper shielding. Fixes tend to be inexpensive if applied correctly: reduce lumen packages, lower CCT toward 2700–3000K, add visors or full cut-off shields, and re-aim fixtures. For bollards, select models with integrated glare control and shallow cutoff optics; for facades, specify asymmetric wall-wash optics that throw light where it’s needed without backscatter. Also consider adaptive controls — dimming and motion-triggered boosts keep baseline light low and reduce cumulative skyglow.
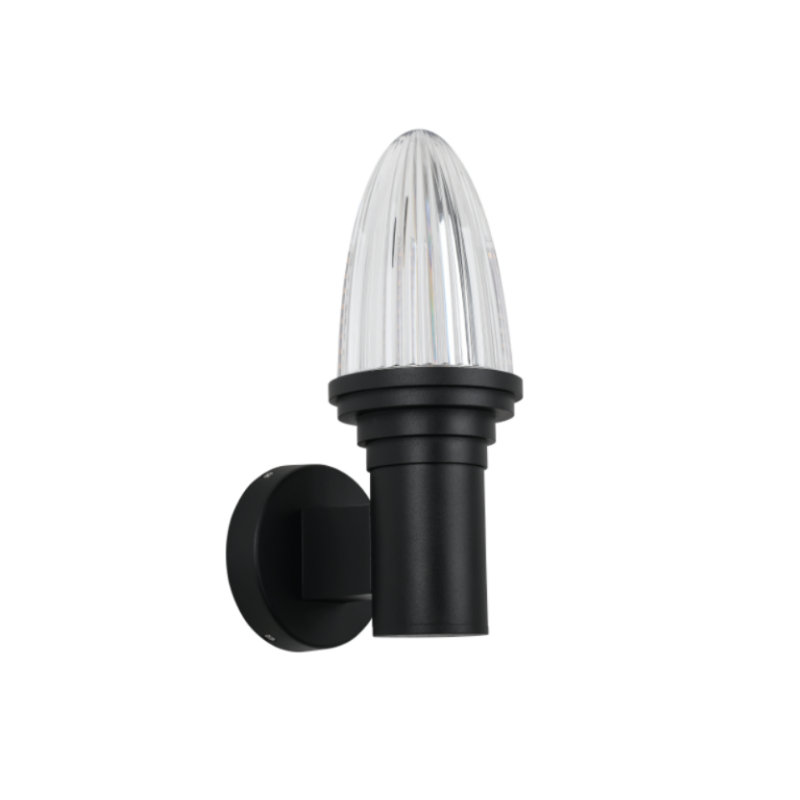
Facade-specific notes — don’t treat facades like streetlights
Led building facade lighting needs a different mindset: you’re shaping textures and depth, not trying to uniformly illuminate a footpath. Use linear washes with narrow beam tilts and limit uplight to avoid skyglow. When retrofitting, choose fixtures with selectable beam angles and local dimming. If you want examples of product solutions, see options for led building facade lighting that offer configurable optics and lower CCT presets — they make achieving good visual comfort a lot easier in practice.
Tools, tests and the right metrics
Photometric data (IES files), site mock-ups and on-site trial runs are the only reliable ways to prove a fix works. Run short trials: swap in reduced-lumen drivers or install temporary shields and survey neighbours. Measure luminance and vertical illuminance at eye height to catch glare risk. Don’t forget standards — AS/NZS 4282 provides guidance on controlling obtrusive effects in Australasia, and the International Dark-Sky Association has clear principles on limiting light pollution. These anchors help you argue for design changes with stakeholders who want numbers, not opinions.
Typical mistakes practitioners make
Design teams often make the same errors: over-reliance on standard photometric layouts, underestimating reflections, and skipping real-world trials. A too-common shortcut is assuming a lower lumen spec alone will fix glare — without changing beam angle or adding shielding, the shiny bits still punch through. Also, poor specification of mounting height and lack of acceptance criteria at practical completion lead to rework. Sort these early — hook the acceptance criteria into your contract and insist on a night-time walkthrough before final sign-off. —
Case snippet: a quick local anchor
In many NZ waterfront redevelopments, teams used shielded bollards and dimmed facade washes to reduce complaints while keeping public safety. Those projects leaned on AS/NZS guidance and iterative trials, proving that staged fixes (controls first, then optical changes) are cheaper than wholesale replacements. That real-world approach keeps councils and residents happy and preserves the night sky — sweet as for everyone involved.
Three golden rules — advisory close
1) Evaluate by outcome, not spec: verify with on-site lux and luminance measurements at complaint points. 2) Prioritise optics over raw lumens: beam control and shielding cut glare more effectively than simply lowering wattage. 3) Bake controls into the design: time switches, dimming and motion sensors reduce cumulative light and operating costs.
Follow those metrics and you’ll get measurable reductions in complaints, lower energy use, and a cleaner visual result for passerby and residents alike. Keyida. —